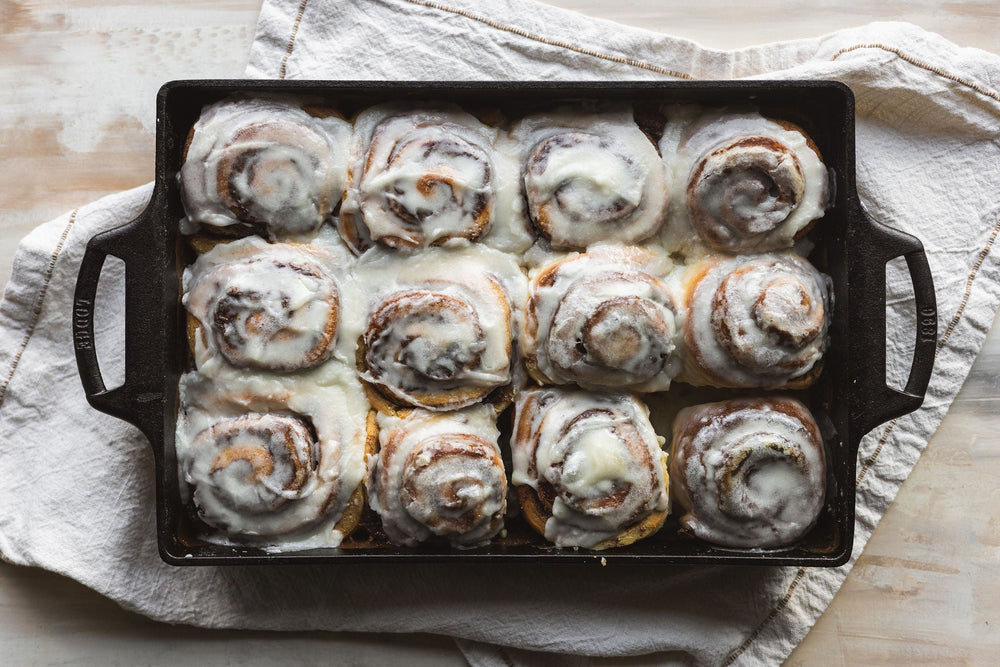
Tips & Tricks Tips & Tricks for Baking in Cast Iron By: Lodge Cast Iron / August 28, 2020 Cast iron baking is more than the bakeware you use; it’s an experience and a relationship that will last beyond your lifetime. Here’s how to get started! E-mail this page Share on Facebook Share on Pinterest Share on Twitter Print this page Lodge's cast iron bakeware draws on 125 years of experience to work alongside you as you try, learn, laugh, taste, and create memorable moments. It won’t dent, bend, or warp at high temperatures and can handle sharp kitchen tools. This bakeware is cast to last because baking is about more than pretty results; it’s about making life delicious—for generations. So sprinkle some new ideas. Fold in delicious twists. Mix up new creations today. Prep your baking canvas Lodge seasoned all bakeware in the foundry, making it easy to care for and ready to use. Before you bake, make sure to coat your cast iron with nonstick spray. Use a pastry brush to get the oil into the corners or sidewalls of your pan. We recommend using silicone brushes when you’re spreading oil on hot, preheated cookware. Another tip is to pair nonstick spray with flour and oil to help your baked goods release from the pan when you’re finished baking. Buy it: Baker’s JoyDIY it: Use seasoning spray, then sprinkle a small amount of flour on top of the oil. Bake what you want, any way you want Cast iron bakeware is the only bakeware that gets better with age. Bonus: It can be used for so much more than dessert, like pizza, rolls, roasted foods, and quiches. Want a crispy crust? Preheat your cast iron bakeware before adding your batter or dough for crunchy edges on cornbread, pizza, and biscuits. Prefer a delicate crust? Add your batter for cakes, pies, and other soft baked goods directly into your room-temperature pan. No preheating needed! Want to roast vegetables? Preheat the baking pan, casserole, or baker’s skillet first. Toss your vegetables with olive oil, then add to the hot pan. You should hear a sizzle! This will deliver perfect crispy roasted veggies every time. Feeling outdoorsy? Cast iron bakeware works in more places than just the oven! Use your cast iron bakeware on your grill or even over a campfire for an adventurous meal. 3 steps for great results every time 1. Adjust cook times on traditional recipes. Cast iron retains heat really well. If you’re baking your favorite recipe in cast iron for the first time, keep in mind that it might brown quicker, so check your baked goods a few minutes before you think it might be done. Pro Tip: To check for doneness, insert a toothpick into the center of the cake, if it comes out clean, the cake is done. If batter sticks to the toothpick, return it to the oven for 5 minutes before rechecking. 2. Let it cool. It will come as no surprise that when cast iron comes out of the oven...it’s HOT! Run a butter knife around the edge of the baked good to loosen it from the bakeware walls. Then let it cool in the bakeware for about 5 minutes. 3. Turn out the finished product. This baking term refers to removing your food from the pan, used most often with breads, cakes, or other foods you don’t want to keep in the cast iron. After your bakeware has cooled, grab the handles and turn it upside down over a cooling rack. Pro Tip: Make sure breads are cooled completely before slicing. Use it, then clean it Some baked goods, like pies and quiches, make a lovely presentation when served in the cast iron bakeware. These few items can be stored (uncut) in the cast iron in the refrigerator. Typically, however, we don’t recommend storing baked goods in cast iron (especially ones that are moist!) as this can lead to rust. How do I clean the bakeware? It’s easy! Clean your bakeware in just three steps. After each use, hand wash, dry promptly, and apply a thin layer of cooking oil to the entire surface. What about the grips? Remove the silicone grips when washing and make sure that both the bakeware and grips are completely dry. Any moisture will cause rust. Also remove the grips when oiling your bakeware. What if I have baked on food? Pan scrapers and scrub brushes are great for cleaning sharp corners and hard to reach places, and can easily remove any baked-on food residue. Want more information on baking in cast iron? Check out our Baking 101 page. Lodge Recipes Bake a Lodge moment Rosemary Red Onion Focaccia The tasty blend of red onion and rosemary in this recipe pair nicely with an olive oil and parmesan dipping sauce. Classic Cinnamon Rolls Nothing says Saturday morning better than a gooey classic cinnamon roll. Made in our 9 x 13 Casserole, you'll have enough for seconds. Brownie Wedges Never fight over the biggest piece of brownie again with these single-serve brownie wedges. Honey Butter Dinner Rolls These lightly sweet rolls are the perfect accompaniment to any traditional meal. Classic Quiche Lorraine This classic recipe marries the saltiness of bacon and cheese with the sharp tang of shallot and woody sweetness of nutmeg. Banana Bread Fix this banana bread for dessert or breakfast; it tastes delicious either way. The buttermilk adds richness of flavor and moistens the bread. Cheesy Herb Cornsticks These Cheesy Herb Cornsticks have so much flavor, we often grab one for dunking and an extra one just for eating. Pepperoni Pizza With Roasted Red Pepper and Basil Whip up this Pepperoni Pizza With Roasted Red Pepper and Basil using our Classic Pizza Dough recipe and you'll make enough for two pizza pies. Contributed By: Lodge Cast Iron We hope you enjoy our stories and recipes! Follow us on Instagram, Facebook, and Twitter, and tag your Instagram food photos with #lodgecastiron for a chance to be featured on our feed! Get $10 off any $50+ order!* While you're shopping, become a Pan Fan today and sign up for our newsletter! *Coupon code will be sent to your email after you sign up for our newsletter! New sign ups only. Sign Up By submitting your information, you are agreeing to Lodge Cast Iron’s Terms of Use and Privacy Policy. Please try again.
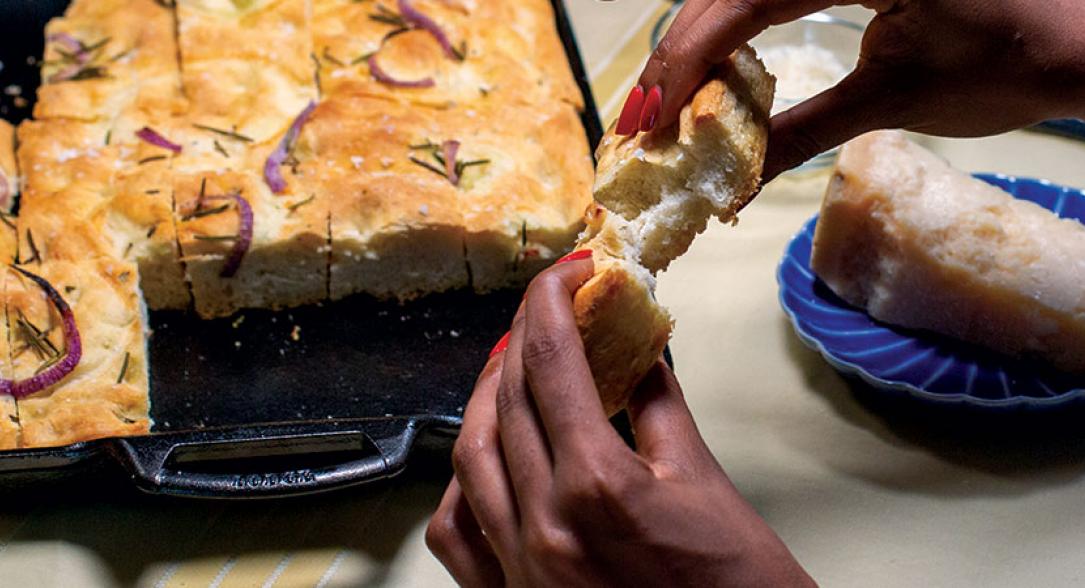

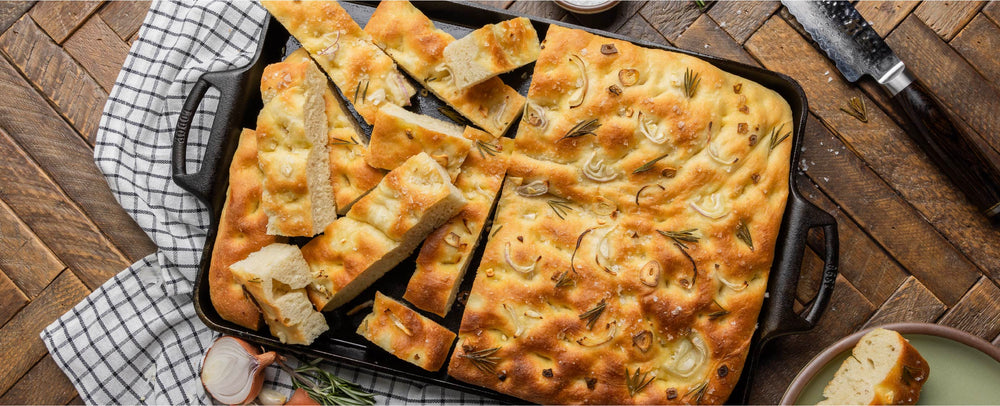
Tips & Tricks Tips & Tricks for Baking in Cast Iron By: Lodge Cast Iron / August 28, 2020 Cast iron baking is more than the bakeware you use; it’s an experience and a relationship that will last beyond your lifetime. Here’s how to get started! E-mail this page Share on Facebook Share on Pinterest Share on Twitter Print this page Lodge's cast iron bakeware draws on 125 years of experience to work alongside you as you try, learn, laugh, taste, and create memorable moments. It won’t dent, bend, or warp at high temperatures and can handle sharp kitchen tools. This bakeware is cast to last because baking is about more than pretty results; it’s about making life delicious—for generations. So sprinkle some new ideas. Fold in delicious twists. Mix up new creations today. Prep your baking canvas Lodge seasoned all bakeware in the foundry, making it easy to care for and ready to use. Before you bake, make sure to coat your cast iron with nonstick spray. Use a pastry brush to get the oil into the corners or sidewalls of your pan. We recommend using silicone brushes when you’re spreading oil on hot, preheated cookware. Another tip is to pair nonstick spray with flour and oil to help your baked goods release from the pan when you’re finished baking. Buy it: Baker’s JoyDIY it: Use seasoning spray, then sprinkle a small amount of flour on top of the oil. Bake what you want, any way you want Cast iron bakeware is the only bakeware that gets better with age. Bonus: It can be used for so much more than dessert, like pizza, rolls, roasted foods, and quiches. Want a crispy crust? Preheat your cast iron bakeware before adding your batter or dough for crunchy edges on cornbread, pizza, and biscuits. Prefer a delicate crust? Add your batter for cakes, pies, and other soft baked goods directly into your room-temperature pan. No preheating needed! Want to roast vegetables? Preheat the baking pan, casserole, or baker’s skillet first. Toss your vegetables with olive oil, then add to the hot pan. You should hear a sizzle! This will deliver perfect crispy roasted veggies every time. Feeling outdoorsy? Cast iron bakeware works in more places than just the oven! Use your cast iron bakeware on your grill or even over a campfire for an adventurous meal. 3 steps for great results every time 1. Adjust cook times on traditional recipes. Cast iron retains heat really well. If you’re baking your favorite recipe in cast iron for the first time, keep in mind that it might brown quicker, so check your baked goods a few minutes before you think it might be done. Pro Tip: To check for doneness, insert a toothpick into the center of the cake, if it comes out clean, the cake is done. If batter sticks to the toothpick, return it to the oven for 5 minutes before rechecking. 2. Let it cool. It will come as no surprise that when cast iron comes out of the oven...it’s HOT! Run a butter knife around the edge of the baked good to loosen it from the bakeware walls. Then let it cool in the bakeware for about 5 minutes. 3. Turn out the finished product. This baking term refers to removing your food from the pan, used most often with breads, cakes, or other foods you don’t want to keep in the cast iron. After your bakeware has cooled, grab the handles and turn it upside down over a cooling rack. Pro Tip: Make sure breads are cooled completely before slicing. Use it, then clean it Some baked goods, like pies and quiches, make a lovely presentation when served in the cast iron bakeware. These few items can be stored (uncut) in the cast iron in the refrigerator. Typically, however, we don’t recommend storing baked goods in cast iron (especially ones that are moist!) as this can lead to rust. How do I clean the bakeware? It’s easy! Clean your bakeware in just three steps. After each use, hand wash, dry promptly, and apply a thin layer of cooking oil to the entire surface. What about the grips? Remove the silicone grips when washing and make sure that both the bakeware and grips are completely dry. Any moisture will cause rust. Also remove the grips when oiling your bakeware. What if I have baked on food? Pan scrapers and scrub brushes are great for cleaning sharp corners and hard to reach places, and can easily remove any baked-on food residue. Want more information on baking in cast iron? Check out our Baking 101 page. Lodge Recipes Bake a Lodge moment Rosemary Red Onion Focaccia The tasty blend of red onion and rosemary in this recipe pair nicely with an olive oil and parmesan dipping sauce. Classic Cinnamon Rolls Nothing says Saturday morning better than a gooey classic cinnamon roll. Made in our 9 x 13 Casserole, you'll have enough for seconds. Brownie Wedges Never fight over the biggest piece of brownie again with these single-serve brownie wedges. Honey Butter Dinner Rolls These lightly sweet rolls are the perfect accompaniment to any traditional meal. Classic Quiche Lorraine This classic recipe marries the saltiness of bacon and cheese with the sharp tang of shallot and woody sweetness of nutmeg. Banana Bread Fix this banana bread for dessert or breakfast; it tastes delicious either way. The buttermilk adds richness of flavor and moistens the bread. Cheesy Herb Cornsticks These Cheesy Herb Cornsticks have so much flavor, we often grab one for dunking and an extra one just for eating. Pepperoni Pizza With Roasted Red Pepper and Basil Whip up this Pepperoni Pizza With Roasted Red Pepper and Basil using our Classic Pizza Dough recipe and you'll make enough for two pizza pies. Contributed By: Lodge Cast Iron We hope you enjoy our stories and recipes! Follow us on Instagram, Facebook, and Twitter, and tag your Instagram food photos with #lodgecastiron for a chance to be featured on our feed!